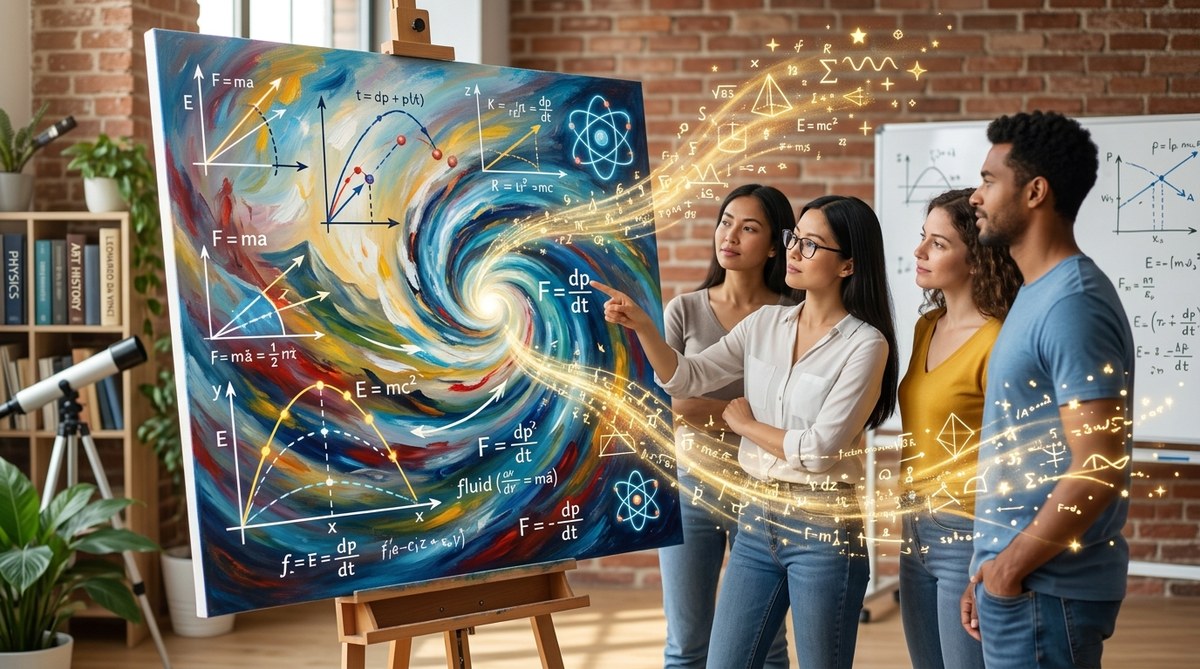
A single painting can teach more physics than a textbook chapter. That is not an exaggeration. When you look at a canvas filled with color, shadow, and motion, you are also looking at a record of light, force, and energy. Artists have been physical scientists for centuries. They just used brushes instead of lab coats.
The connection between art and science is not a new idea. Leonardo da Vinci sketched human anatomy to understand proportion. He studied water flow to paint realistic waves. He knew that to capture the world, you had to understand how it worked. That same principle holds true today. When educators use art teaching physics concepts, they give students a visual anchor for abstract ideas.
Visual art is a powerful tool for teaching physics because it makes invisible forces visible. Paintings capture light behavior, motion, balance, and material properties. By analyzing art, students learn about reflection, refraction, momentum, and gravity without memorizing dry formulas. This approach builds intuition and curiosity, especially for learners who struggle with traditional STEM methods.
Why Visual Art Makes Physics Click
Physics is often taught through equations and diagrams. That works for some students. But many learners need a concrete reference point. A painting provides that. When a student sees a Renaissance portrait with dramatic shadows, they are looking at chiaroscuro. That technique is a direct application of the inverse square law of light. The artist knew that light intensity decreases as distance increases. They painted that reality.
Art also teaches physics through observation. A student studying a still life must notice how light hits a glass bowl. They see the highlights, the refractions, and the shadows. This is not just art critique. It is optics in action. When you frame it that way, the student is already doing physics. They just did not realize it.
Here are the main physics concepts that art can teach directly:
- Light and color theory: How pigments absorb and reflect wavelengths.
- Motion and momentum: How blurred lines or repeated figures show speed.
- Force and tension: How a sculpture balances weight and gravity.
- Perspective and geometry: How vanishing points use projective geometry.
- Material properties: How paint viscosity or canvas texture affects application.
A Practical Process: How to Analyze a Painting for Physics
You do not need to be an art historian to use paintings in a physics lesson. You just need a structured approach. Follow these steps to turn any artwork into a physics lab.
-
Pick a painting with visible light effects. Look for strong shadows, highlights, or reflections. Works by Caravaggio, Rembrandt, or Vermeer are great starting points. Their use of light is deliberate and dramatic.
-
Ask students to describe the light source. Where is it coming from? Is it natural or artificial? How do you know? This builds observational skills and introduces concepts like light direction and shadow casting.
-
Map the shadows. Have students trace the edges of shadows in the painting. Measure their length relative to the objects casting them. This shows the geometry of light and the angle of incidence.
-
Identify color mixing. Look at how the artist created a specific hue. Did they layer colors? Use complementary colors to create vibrancy? This teaches additive versus subtractive color mixing.
-
Discuss motion cues. If the painting shows movement, ask students to identify how the artist suggested it. Blurred lines, repeated limbs, or flowing fabric all indicate motion. This leads to discussions about velocity and frame of reference.
-
Connect to a formula. After the observation, introduce the relevant equation. For example, after analyzing shadows, explain the inverse square law. The painting becomes the example the student can picture when they see the formula.
Common Misconceptions When Using Art to Teach Physics
Teachers sometimes worry that art will distract from the science. They think students will focus on beauty instead of principles. But that concern misses the point. The beauty is the hook. The table below shows common mistakes and how to fix them.
| Mistake | Why It Happens | Better Approach |
|---|---|---|
| Only using realistic paintings | Teachers think abstract art has no physics value | Use abstract works to teach color theory, light frequency, and visual perception |
| Ignoring the artist’s intent | Students focus on personal interpretation | Frame the painting as a physical object made with physical materials |
| Skipping the math | Art feels like a break from rigor | Use simple ratios and angles from the painting to ground the lesson in numbers |
| Treating art as decoration | Art is shown but not analyzed | Use a structured observation worksheet to guide inquiry |
| Forgetting the audience | Art chosen does not connect with students | Let students pick paintings or bring in modern digital art, animation, or photography |
“The best physics lessons happen when students forget they are learning physics. Art provides that disguise. When a student asks why a shadow is a certain shape, they are already doing physics. You just have to give them the words to describe it.”
Dr. Maria Chen, educator and author of Artful Science
How to Blend Art and Science in Your Classroom in 2026
The 2026 classroom is more interdisciplinary than ever. Schools are moving away from siloed subjects. They want students to see connections. Using art to teach physics is a natural fit. Here is how you can start tomorrow.
Start with a single painting. You do not need a museum trip. Use a high resolution image on a screen. Pick something that has clear light and shadow. Show it to the class and ask them to draw the light paths. This is a low stakes way to introduce physics vocabulary.
Use the painting as a lab setup. Instead of a diagram of a light source and an object, use the painting. Ask students to measure the angle of the shadow relative to the object. Have them calculate where the light source must be. This turns art analysis into a physics problem.
Add a hands on component. After analyzing a painting, have students recreate the lighting setup in real life. Use a desk lamp and a simple object. Let them adjust the light to match the painting. This shows them that the artist was working with real physics.
Connect to modern technology. Digital art and 3D rendering rely entirely on physics. Programs like Blender or Photoshop use algorithms for light diffusion, reflection, and refraction. Students can see that the same principles apply whether you use oil paint or a stylus.
For more ideas on merging these disciplines, read our guide on unlocking creativity by merging art and science in your classroom. It offers specific project templates and lesson plans.
The Tools You Need to Get Started
You do not need expensive equipment. Here is a list of what you can use right now:
- A projector or large screen to display high resolution paintings
- A simple drawing app or paper for students to trace light paths
- A desk lamp and a white object for shadow experiments
- A color wheel to discuss light wavelengths
- A camera to capture student recreations of lighting setups
If you want to go deeper, consider using digital tools. Online art archives like Google Arts and Culture let you zoom into paintings. You can see brush strokes and pigment layers. This is perfect for discussing material properties and how paint interacts with light.
The Surprising Physics Lessons Hidden in Famous Paintings
Let us look at a few specific examples. These paintings are easy to find and rich with physics content.
“The Night Watch” by Rembrandt
This painting is famous for its dramatic use of light. The light source is ambiguous. Scholars debate its location. That is a physics question. Where is the light coming from? How does the shadow length change across the canvas? Students can measure and calculate.
“The Persistence of Memory” by Dali
The melting clocks are not just surreal. They represent the relativity of time and space. Dali was influenced by Einstein’s theories. This painting opens a discussion about time dilation and the perception of motion.
“Starry Night” by Van Gogh
The swirling sky is not just emotional. It shows turbulent flow. The patterns in the clouds mirror fluid dynamics. Scientists have analyzed the painting and found that Van Gogh accurately depicted turbulence. That is physics in action.
“Nighthawks” by Hopper
The diner scene uses artificial light from above. The shadows are sharp and directed. Students can map the light paths and discuss how the glass window reflects and refracts light. This leads to lessons on reflection and transparency.
Why This Approach Works for Every Learner
Art teaching physics concepts is not just for visual learners. It works for everyone. Here is why:
- Kinesthetic learners benefit from recreating lighting setups.
- Auditory learners engage through discussion and questioning.
- Reading/writing learners can write analysis papers.
- Logical learners enjoy the measurement and calculation aspects.
The interdisciplinary nature of the lesson means that students who usually struggle with physics find an entry point. They might not connect with a free body diagram. But they will connect with a painting that shows tension and balance.
This method also builds critical thinking. Students learn to observe, question, and test. Those are skills that transfer to every subject. For more on this, check out how interdisciplinary thinking sparked breakthroughs from da Vinci to modern innovators.
A Word of Caution: Keep the Science Central
It is easy to get carried away with the art. The paintings are beautiful. The stories are compelling. But the goal is to teach physics. Make sure every activity leads back to a scientific principle. If you spend twenty minutes talking about the painter’s life, you have lost the physics thread.
A good rule of thumb is to spend no more than five minutes on art history. Then pivot to observation. Then to measurement. Then to the formula. The art is the gateway. The science is the destination.
How to Assess Learning When Using Art
Assessment can be tricky with interdisciplinary lessons. You want to measure physics understanding, not art appreciation. Here are some methods that work:
- Ask students to label light sources and shadow paths on a printout.
- Have them calculate the angle of incidence using a protractor on a projected image.
- Assign a short lab report where they recreate a painting’s lighting.
- Use a multiple choice quiz on the physics concepts, with the painting as a reference.
The key is to keep the assessment rooted in physics. If a student can explain why a shadow falls a certain way, they have learned the concept.
Bring Art and Physics Together in Your Next Lesson
You have the tools. You have the examples. Now it is time to try it. Pick a painting this week. Show it to your class. Ask one simple question: “Where is the light coming from?” Let the discussion unfold. You will be surprised at how much physics emerges from that single question.
For a deeper look at how to design full interdisciplinary units, see how to design interdisciplinary projects that ignite student curiosity in 2026. It walks you through planning, execution, and assessment.
The Art of Seeing Physics Everywhere
Once you start looking, you will see physics in every painting. The way a fabric folds shows gravity. The way a face catches light shows reflection. The way a landscape recedes shows perspective and geometry. Art is not separate from science. It is science made visible.
That is the real lesson. Physics is not a set of formulas to memorize. It is a way of seeing the world. And art is one of the best teachers we have. So go ahead. Hang a painting in your classroom. Let it do the teaching. Your students will thank you.