When a student asks why they need to learn the periodic table, you can point to the pigments in a Van Gogh painting. When they wonder how sound waves work, you can show them a guitar string vibrating in slow motion. The line between art and science is thinner than most people think. In fact, some of the most powerful learning happens when those two worlds collide.
For middle and high school teachers, blending inquiry-based learning with art and science creates a classroom where students ask better questions. They stop memorizing facts and start testing ideas. They sketch, measure, fail, and try again. That is the heart of inquiry.
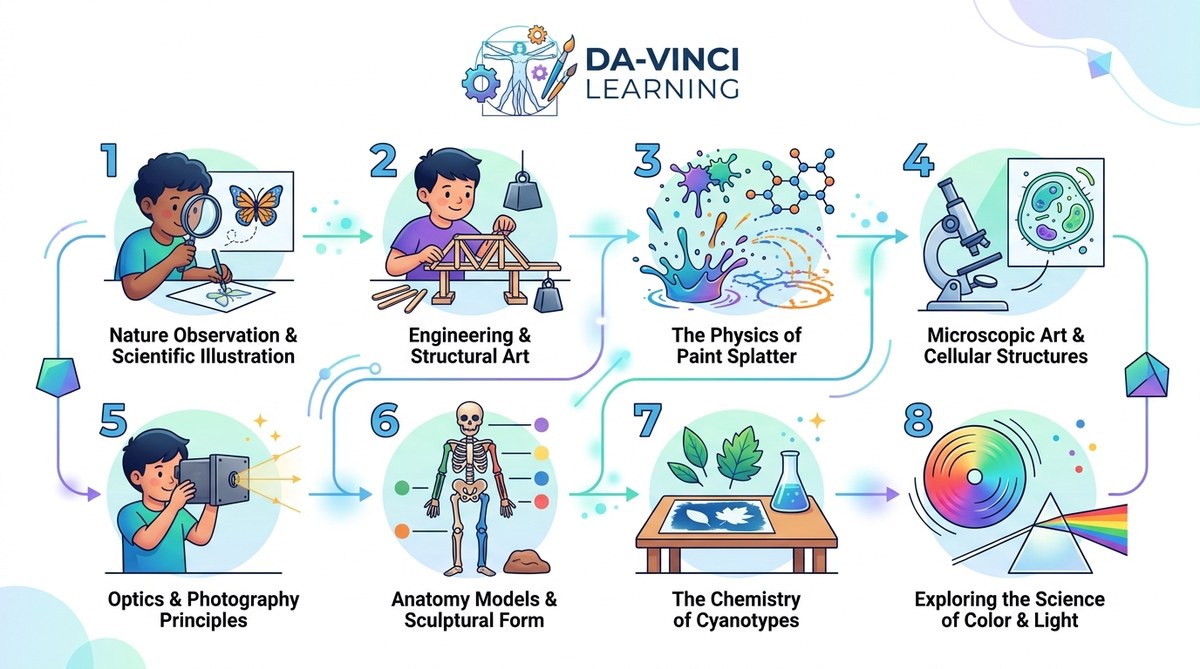
Below are eight inquiry-based activities that prove art and science are better together. Each one is designed to spark curiosity and build critical thinking skills.
Inquiry-based learning that merges art and science helps students develop observation, experimentation, and creative problem-solving skills. The eight activities in this guide are ready to adapt for grades 6 through 12. Each one uses student-driven questions to build deeper understanding of both artistic techniques and scientific principles.
Why Inquiry-Based Learning Works So Well for Art and Science
Inquiry-based learning flips the traditional classroom script. Instead of the teacher delivering facts, students ask questions and investigate answers. This approach fits art and science perfectly because both disciplines rely on observation, experimentation, and revision.
A painter mixes colors to see what happens. A biologist grows bacteria to test a hypothesis. Both are asking “what if?” and “why?”
When you combine these two ways of thinking, students gain a more complete toolkit for understanding the world. They learn that creativity and logic are not opposites. They are partners.
For a deeper look at this idea, check out how interdisciplinary thinking sparked breakthroughs from Da Vinci to modern innovators.
Activity 1: The Physics of Color Mixing
This activity asks students to investigate why certain color combinations create different results depending on the medium.
Start with a simple question: “Does red and yellow always make orange?”
What you need:
– Watercolor paints
– Acrylic paints
– Colored pencils
– Light filters or gels
– White paper and black paper
The inquiry process:
1. Have students predict what will happen when they mix red and yellow in each medium.
2. Ask them to test each combination and record the results.
3. Introduce a light filter experiment. Shine red and yellow lights on a white surface. What color appears?
4. Students then research why paint mixing (subtractive color) differs from light mixing (additive color).
This activity connects directly to physics concepts about wavelengths and how human eyes perceive color. Students walk away understanding that color is not a fixed property. It depends on the material and the light source.
Activity 2: Biomimicry Sketchbooks
Biomimicry is the practice of looking at nature for design solutions. This activity turns students into nature detectives.
The driving question: “How can a plant or animal inspire a better human invention?”
Steps to run this activity:
1. Take students outside or show them images of natural structures.
2. Ask each student to choose one organism and sketch it in detail.
3. Students identify a specific feature. A lotus leaf repels water. A gecko’s foot sticks to surfaces.
4. They then design a product or artwork inspired by that feature.
5. Finally, students build a prototype using simple materials.
A student might study how a sunflower tracks the sun and then design a solar panel that rotates for maximum energy capture. Another might study butterfly wing scales and create a fabric that reflects heat.
This activity teaches observation, research, and creative application. It is a strong example of why inquiry-based learning is the key to mastering both art and science.
Activity 3: Sound Wave Sculptures
Sound is invisible. But with the right setup, students can see it.
Materials:
– Plastic tubs or drums
– Salt or sand
– Speakers or tuning forks
– Plastic wrap
– Flashlights
The inquiry question: “How does changing the pitch of a sound change the pattern it makes?”
Procedure:
1. Stretch plastic wrap tightly over a tub. Sprinkle salt on top.
2. Have a student speak or sing near the tub. Watch the salt jump.
3. Place a speaker nearby and play different frequencies.
4. Students sketch the patterns they see.
5. Challenge them to create a sculpture that captures a specific sound wave pattern using wire, clay, or paper.
Students learn about frequency, amplitude, and vibration. They also create art that represents invisible forces. This is a great activity for connecting music class with physics.
Activity 4: The Chemistry of Natural Pigments
Before synthetic dyes, humans made paint from rocks, plants, and insects. This activity lets students become ancient artists and modern chemists at the same time.
The driving question: “Which natural materials produce the most vibrant and lasting colors?”
What you will need:
– Turmeric, beets, spinach, charcoal, clay
– Mortar and pestle
– Egg yolks (for tempera paint)
– Small jars and brushes
– Paper or canvas
The process:
1. Students grind each material into a powder.
2. They mix each powder with a binder (egg yolk, oil, or water).
3. Students paint swatches and observe the color.
4. Leave the swatches in sunlight for a week. Which colors fade? Which stay bright?
5. Students research why certain pigments are more stable than others.
This activity teaches chemical bonding, pH indicators, and the history of art materials. Students gain respect for the science behind every paint tube.
Activity 5: Perspective Drawing and Geometry
Renaissance artists like Brunelleschi and Da Vinci used math to create realistic depth in paintings. This activity asks students to rediscover those rules.
The inquiry question: “How do artists use math to trick your eye into seeing depth on a flat surface?”
Materials:
– Rulers, pencils, graph paper
– A window with a view
– Tracing paper
Steps:
1. Ask students to look out a window and trace what they see directly onto the glass with a dry erase marker.
2. They will notice that parallel lines seem to meet at a point.
3. Teach the concept of a vanishing point.
4. Students create their own one-point perspective drawing of a hallway or street.
5. Challenge them to add a second vanishing point (two-point perspective) for a more complex scene.
Students learn about angles, ratios, and spatial reasoning. They also gain a practical skill that is useful in art, architecture, and engineering.
Common Pitfalls When Blending Art and Science
Even the best activities can fall flat without the right setup. Here is a table that shows common mistakes and how to avoid them.
| Mistake | Why It Happens | Better Approach |
|---|---|---|
| Too much instruction | Teachers worry students will miss the point | Let students struggle with the question first |
| No clear inquiry question | Activity becomes a craft project instead of a lesson | Start every activity with an open ended question |
| Ignoring the art side | Science dominates and art feels like an add on | Give equal time to aesthetics and analysis |
| Ignoring the science side | Art feels shallow without evidence | Require students to collect data or document observations |
| No reflection time | Students finish but do not process what they learned | End each activity with a journal entry or group discussion |
Avoiding these pitfalls will keep your lessons focused and meaningful. For more guidance, read about how to design interdisciplinary projects that ignite student curiosity in 2026.
Activity 6: The Geometry of Islamic Tile Patterns
Islamic geometric art uses repeating patterns based on circles, stars, and polygons. These designs are beautiful and mathematically precise.
The driving question: “How can you create an infinite pattern using only a compass and a straightedge?”
Materials:
– Compass, ruler, protractor
– Graph paper or blank paper
– Colored pencils
Procedure:
1. Show students examples of Islamic tile work from museums or online collections.
2. Ask them to identify the basic shapes hidden in the pattern.
3. Teach the construction of a 6-pointed star using a compass.
4. Students create their own repeating tile pattern.
5. They then calculate the angles and symmetry of their design.
This activity teaches geometry, symmetry, and cultural history. It shows students that math is not just numbers on a page. It is the language of beauty.
Activity 7: Light and Shadow Photography
Photography is the art of capturing light. But to do it well, you need to understand how light behaves.
The inquiry question: “How does the angle and quality of light change the mood of a photograph?”
What you need:
– Smartphones or digital cameras
– A flashlight or desk lamp
– White and black poster board
– A small object (fruit, sculpture, or a friend)
Steps:
1. Place the object on a table. Shine the light directly from above. Take a photo.
2. Move the light to the side. Take another photo.
3. Move the light behind the object. Take a third photo.
4. Students compare the three images. How does the shadow change? How does the mood change?
5. Students then choose one lighting setup and create a series of three photos that tell a story.
Students learn about reflection, refraction, and the inverse square law of light. They also practice composition and storytelling.
Activity 8: Data Visualization as Art
Data is everywhere. But raw numbers are hard to understand. Turning data into art makes it meaningful.
The driving question: “How can you represent a set of data in a way that is both accurate and beautiful?”
Materials:
– A simple data set (temperature, class survey results, or sports scores)
– Graph paper, colored pencils, paint
– Optional: free online graphing tools
The process:
1. Give students a data set. Ask them to create a standard bar graph first.
2. Challenge them to redesign the graph as a piece of art. Maybe the bars become trees. Maybe the points become stars.
3. Students must keep the data accurate while making the design engaging.
4. Display the finished pieces and have students analyze each other’s work.
This activity teaches data literacy, scale, and design thinking. It is a great way to bridge math class with art class.
“When students see that a graph can be a painting and a painting can be a graph, they stop thinking of subjects as separate boxes. They start thinking in systems.” A middle school science teacher from Oregon shared this insight after running the data visualization activity with her 8th graders.
Building a Classroom Culture That Supports Inquiry
Activities alone are not enough. You need a classroom environment where students feel safe asking questions and making mistakes.
Key habits to build:
– Start each unit with a question, not an answer.
– Allow students to choose their own path within a project.
– Celebrate failed experiments as learning opportunities.
– Use sketchbooks or science journals as a daily habit.
– Encourage peer feedback and group discussion.
For a step by step guide, read about 6 steps to blend art and science in your next interdisciplinary project.
How to Assess Inquiry-Based Work
Traditional tests do not always capture what students learn through inquiry. Consider these assessment methods instead.
A rubric for inquiry projects:
– Question quality: Did the student ask a meaningful question?
– Process documentation: Did they record observations and changes?
– Creative risk taking: Did they try something new even if it failed?
– Final product: Is the work thoughtful and complete?
– Reflection: Can the student explain what they learned?
You can also use portfolio assessments. Have students collect their best work from the semester and write a reflection on each piece. This shows growth over time and honors both the art and the science.
Why This Approach Matters for 2026 and Beyond
The world students will graduate into does not ask for narrow specialists. It asks for people who can solve complex problems. Those problems rarely fit into a single subject.
Climate change requires scientists who can communicate visually. Medical imaging requires doctors who understand both anatomy and aesthetics. Architecture requires builders who care about both structural integrity and human experience.
By blending inquiry-based learning with art and science, you are preparing students for that world. You are teaching them to see connections. To ask better questions. To make things that are both functional and beautiful.
If you want to go deeper, read about how interdisciplinary learning prepares students for a complex world.
Your Next Step Toward an Integrated Classroom
You do not need to redesign your entire curriculum overnight. Pick one activity from this list. Try it with your students next week. See what happens.
Notice which students light up. Notice who asks unexpected questions. Notice how the room feels different when students are driving their own learning.
That shift, from passive to active, from separate to connected, is what makes inquiry-based learning so powerful. And when you add art to science, or science to art, you give students more ways to understand, to create, and to care.
Start small. Stay curious. The results will speak for themselves.